Getting Started with Arduino and the Serial Monitor
If you've ever worked with an Arduino, you've probably used its built-in Serial Monitor. It's the simplest way to get feedback from your board. But the serial port is much more than just a debug window—it's a two-way street for communication.
~7 minutes
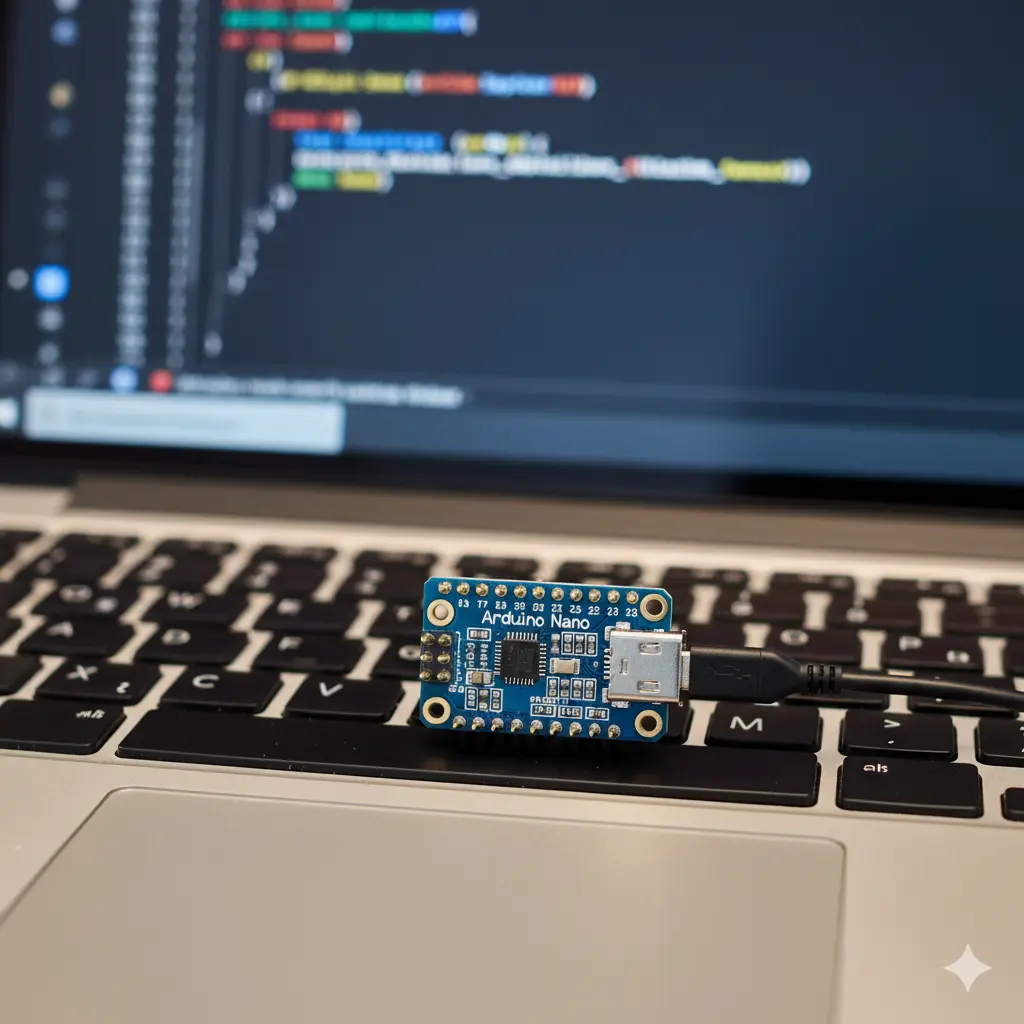
If you've ever worked with an Arduino, you've probably used its built-in Serial Monitor. It's the simplest way to get feedback from your board. But the serial port is much more than just a debug window—it's a two-way street for communication. This guide will show you how to master serial communication in your Arduino projects, and why using a dedicated terminal like serialterminal.app can unlock even more power.
Your First Words: Serial.begin() and Serial.println()
The foundation of all serial communication in Arduino is the Serial object. To use it, you must first initialize it in your setup() function.
void setup() {
  // Initialize the serial port at 9600 bits per second (baud)
  Serial.begin(9600);

  // Wait for the serial port to connect. Needed for native USB port boards like Leonardo.
  while (!Serial) {
    ;
  }

  Serial.println("Hello from Arduino!");
}

void loop() {
  // Your main code will go here
}