Accessing the Linux Console on a Raspberry Pi via Serial
A Raspberry Pi is a full-fledged Linux computer. Most of the time, you interact with it over a network using SSH or by connecting a monitor and keyboard. But what happens when the network is down, or you're setting it up for the first time and don't know its IP address?
~6 minutes
A Raspberry Pi is a full-fledged Linux computer. Most of the time, you interact with it over a network using SSH or by connecting a monitor and keyboard. But what happens when the network is down, or you're setting it up for the first time and don't know its IP address?
The answer is the serial console. It's a powerful, low-level way to get a full command-line login prompt, giving you complete control over the Pi, no networking or display required.
Why Use the Serial Console?
- Headless Setup: It's the easiest way to configure Wi-Fi on a new Raspberry Pi without ever connecting it to a monitor.
- Network Troubleshooting: If your Pi loses its network connection, you can log in via serial to fix misconfigured network files or restart services.
- Kernel Debugging: When the Pi's operating system (Linux) is booting, it prints all its startup messages (known as
dmesg) to the serial port. This is invaluable for diagnosing boot problems. - Guaranteed Access: It's the connection that works when nothing else does. If you're having trouble, our guide on troubleshooting serial connections can help.
The Hardware You'll Need
You can't just plug a standard USB cable into the Pi's USB ports. You need to connect directly to its GPIO pins. This requires a special cable called a USB-to-TTL Serial Adapter or "Console Cable". These are inexpensive and widely available. They typically have four wires:
- Red: 5V Power (Usually not connected)
- Black: Ground (GND)
- White: RX (Receives data from the Pi's TX pin)
- Green: TX (Transmits data to the Pi's RX pin)
Step 1: Connecting the Wires
First, unplug all power from your Raspberry Pi. Never connect or disconnect GPIO wires while the Pi is on.
You need to connect three wires from your USB-to-TTL adapter to the Pi's GPIO header.
| Adapter Wire | Pi GPIO Pin | Pi Pin Number |
|---|---|---|
| Black (GND) | Ground | Pin 6 |
| White (RX) | GPIO 14 (TXD) | Pin 8 |
| Green (TX) | GPIO 15 (RXD) | Pin 10 |
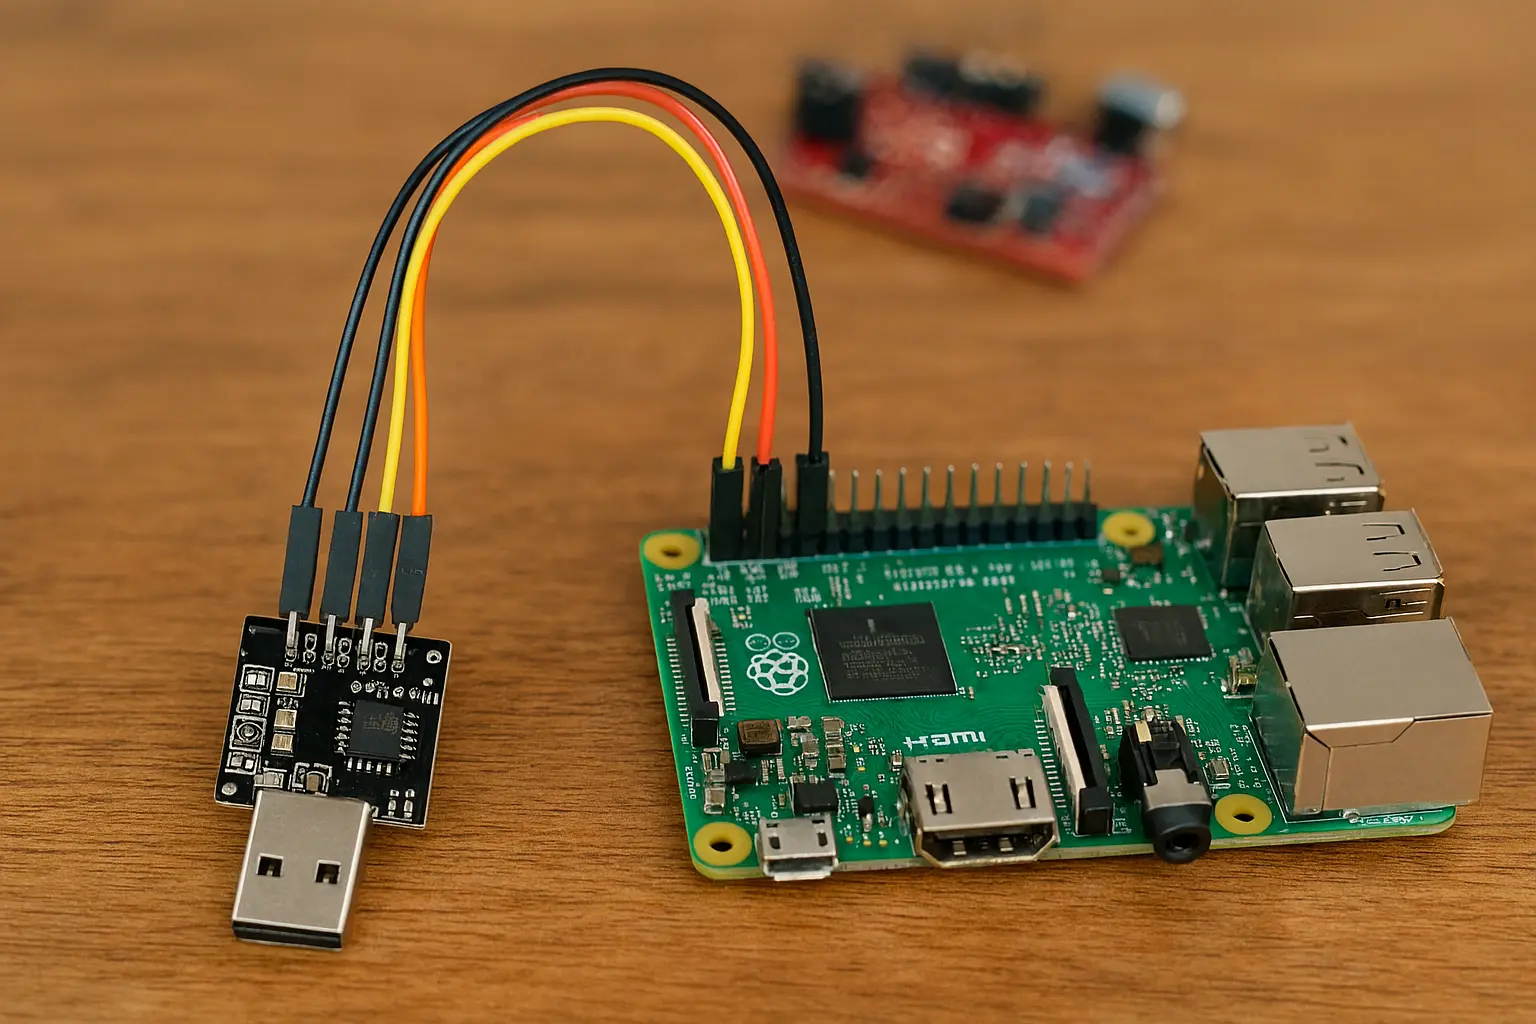
Important: The connection is crossed over: the TX (Transmit) pin on the adapter connects to the RXD (Receive) pin on the Pi, and the RX (Receive) pin on the adapter connects to the TXD (Transmit) pin on the Pi. Think of it as a conversation: your 'mouth' (TX) talks to their 'ear' (RX). Do not connect the red (5V) wire, as the Pi will be powered separately by its own USB-C power supply.
(Caption: A USB-to-TTL serial adapter connected to a Raspberry Pi's GPIO pins 6, 8, and 10, showing the GND, TX, and RX connections.)
Step 2: Enabling the Serial Console
On modern versions of Raspberry Pi OS, you need to enable the serial console. The easiest way is to do it before you boot the Pi for the first time. See the official Raspberry Pi serial console documentation for the most up-to-date information.
- Flash Raspberry Pi OS to your microSD card.
- Before ejecting the card, find the file named
config.txtin the "boot" partition. - Open
config.txtin a text editor and add this line to the very end:enable_uart=1 - Save the file and safely eject the card.
Step 3: Connecting with a Serial Terminal
- Insert the microSD card into your Pi.
- Plug the USB end of your console cable into your computer.
- Power up your Raspberry Pi.
- Open a serial terminal application like serialterminal.app.
- Find and select the correct serial port. The name will vary by OS:
- Windows: It will likely be
COM3or a higher number. You can find it in the Device Manager under "Ports (COM & LPT)". - macOS / Linux: It will be in the
/dev/directory, with a name like/dev/tty.usbserial-XXXX(macOS) or/dev/ttyUSB0(Linux). You can find it by runningls /dev/tty.*in a terminal before and after plugging in the adapter.
- Windows: It will likely be
- Set the baud rate to 115200. This is the standard speed for the Raspberry Pi console.
- Click "Open Port".
You should immediately see the Linux boot messages scrolling by. Once the boot process is complete, you'll be presented with a login prompt similar to this:
Raspbian GNU/Linux 11 raspberrypi ttyS0

raspberrypi login:
You can now log in with your username and password (pi and raspberry by default on older systems) and have full command-line control over your Pi. If the text looks strange, you may need to understand line endings.